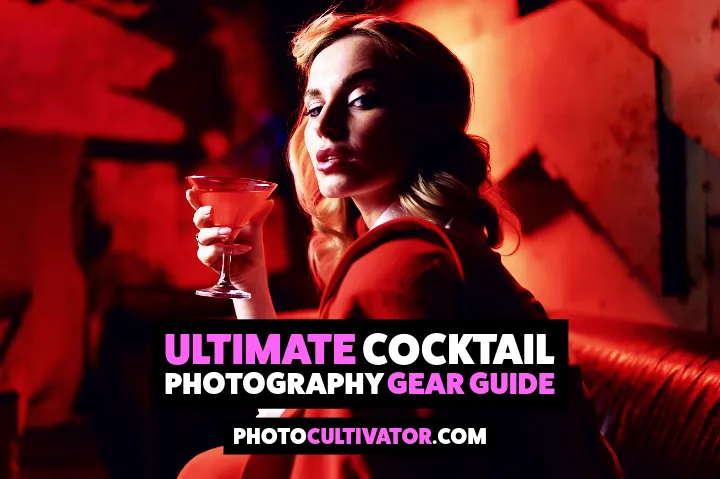
7 Must-Have Tools for Jaw-Dropping Cocktail Shots
Cocktail photography blends product photography with food styling, and it’s one of the most detail-driven genres you can shoot.
From the gleam of glassware to the glow of the liquid, every element counts, and lighting can make or break the shot.
If you’re new to product photography, you might also enjoy my Ultimate Photography Guide for Beginners, where I cover the core skills that apply to any genre.
1. Lenses: Working With What You Have
A strong lens lineup is the backbone of drink photography.
- 50mm Prime – Sharp, versatile, and perfect for clean, distortion-free images. Delivers beautiful background blur for isolating your subject. If you’re choosing your first prime, see my Perfect Lens Physique Photography Guide for tips on picking the right fit. I recommend the Canon RF 50mm f/1.8 STM, Sony FE 50mm f/1.8, or Nikon Z 50mm f/1.8 S.
- 28–70mm Zoom – Great for flexibility. Lets you switch from tight detail shots to wider table scenes without moving your setup — see the 24–70mm Lens Must-Have Guide for why this range is so popular. Solid options include the Sony 28–70mm f/3.5–5.6 OSS and Canon RF 24–70mm f/4 L IS.
- Macro Lens (Optional Upgrade) – A 60mm or 100mm macro lens lets you get extreme close-ups of garnish textures, condensation, and bubbles. Great picks: Canon RF 100mm f/2.8L Macro IS, Sony FE 90mm f/2.8 Macro G OSS, and Nikon Z MC 105mm f/2.8 VR S.
Pro Tip: For most shots, keep your aperture between f/4 and f/8 to get the whole drink in focus while maintaining soft background separation.
2. Lighting: The Key to Liquid Glow
Lighting is the single biggest factor in making drinks look irresistible.
Budget-Friendly Continuous Light
Continuous LED panels let you see your light in real time. Look for:
- 60–150W output
- Adjustable color temperature (daylight balanced)
- Softbox attachment for diffused light
💡 Recommendation:
- Godox SL60W LED Video Light — budget-friendly, consistent daylight color.
- Neewer 660 LED Panel 2-Light Kit with Softboxes — great starter kit for under $150.
- Pair with sturdy stands like the Neewer Heavy Duty Light Stand for stability.
If you’re not sure whether continuous light or flash is right for you, check my Photography Studio Setup Guide for lighting comparisons and placement tips.
Using Your Flash
Your Godox V1 is already a pro-grade light source. Pair it with:
- Godox S2 Bracket with Bowens Mount + Godox 60x60cm Softbox for softer light.
- MagMod MagSphere 2 for even cocktail lighting without harsh shadows.
- Manfrotto 1052BAC Stand for off-camera flexibility.
Pro Tip: For cocktails, backlight your subject. Position your light slightly behind and above the glass to make the drink glow and the ice sparkle.
3. Controlling Reflections
Glass is tricky — it reflects everything in the room.
- Light from behind or at a 45° angle to minimize direct reflections.
- Use white foam boards (Elmer’s 20x30 Foam Board) to bounce light and black foam boards to block glare.
- A good circular polarizer like the B+W Kaesemann CPL or Hoya HD3 CPL will cut glare without affecting colors.
- For more flexibility, grab an inexpensive 5-in-1 Reflector Kit — it’s like having multiple light tools in one.
For more glare-control tips, see my Lens Cleaning & Maintenance Guide.
4. Must-Have Accessories
Small tools that make a big difference:
- Tripod – Locks in your framing so you can tweak styling without moving the camera — see my Best Tripods Under $100 or check the Manfrotto Befree Advanced Aluminum Tripod.
- Microfiber Cloths – The Zeiss Microfiber Lens Cloth is my go-to for spotless glassware.
- Cotton Gloves – Archival Photo Gloves keep props fingerprint-free.
- Clear Ice – The True Cubes Clear Ice Maker creates crystal-clear cubes worthy of a commercial shoot.
Pro Tip: Keep a small prop kit with cocktail stirrers, garnish picks, and bar spoons so you can style on the fly.
5. Styling & Backgrounds
The drink isn’t the only star — the set matters.
- Choose backgrounds that complement drink colors — wood, marble, and slate are classic. Replica Surfaces makes great portable options.
- Keep props minimal — garnish, a bar tool, or a blurred bottle in the background is enough. For barware, check Viski Professional Tools or Barfly Mixology Gear.
- Watch for dust, streaks, or bubbles in the wrong places.
If you like creative setups, my Essential Photography Gadgets Guide covers budget tools that make styling faster and more consistent, from clamp sets to backdrop stands.
And if you want to get more control over your light placement for these scenes, revisit my Photography Studio Setup Guide for simple layouts that work even in small spaces.
6. Pro Workflow
Commercial drink photographers often work in this order:
- Set your lighting first — test with empty glasses.
- Lock your framing — style and prop before adding the drink.
- Garnish last — keep it fresh.
- Pour right before shooting — you have a small window before ice melts and condensation turns streaky.
If you want real-time previews, use a Tether Tools Cable to connect your camera to Lightroom or Capture One.
7. Budget Breakdown
You can build a commercial-ready kit for under $300:
- LED continuous light kit with softbox: $100–150
- Foam boards & clamps: $20
- Polarizing filter: $30–50
- Props & clear ice: $20
For more ideas on building a photography kit without overspending, check my Best Used Photo Gear Marketplaces Guide to find deals on quality equipment.
Final Takeaway
Great cocktail photography is not about having expensive gear, but understanding how light interacts with liquid and glass.
With a smart selection of lenses, controlled lighting, and a few budget-friendly accessories, you can deliver commercial-quality results that make every drink look irresistible.
💬 Your turn: Have you tried cocktail or drink photography before? What’s the biggest challenge you’ve faced: lighting, reflections, or styling? Hit reply and share your experience. I read every comment.
🔗 Enjoyed this guide? Share it with a fellow photographer or in your favorite photo group — let’s help more creatives level up their drink photography.
Hakan | Founder, PhotoCultivator.com | Instagram : PhotoCultivator