Best Cameras for Astrophotography in 2024: Top Picks for Beginners


Taking pictures of stars, galaxies, and other night sky objects is a fun hobby called astrophotography.
But it requires some special camera gear to get great shots.
Regular cameras can struggle in low-light conditions.
That’s why dedicated astrophotography cameras are important.
They have larger sensors to capture more light, can use very high ISOs with less noise, and can do long exposures to “collect” enough light for a proper image.
Why Astrophotography Cameras Matter
With a regular camera, astrophotography is extremely difficult.
The small sensors can’t gather enough light from faint objects. And they’ll have lots of noise and grain at the high ISOs required.
Astrophotography cameras solve these issues.
The larger sensors and advanced electronics allow long exposures of several minutes while keeping noise low.
This unlocks the ability to photograph distant galaxies, nebulae, and more.
Top Astrophotography Camera Picks for Beginners
Canon EOS Rebel T8i ($749)
An excellent starter DSLRfor astrophotography on a budget.
The 24MP APS-C sensor performs well in low light.
It has an ISO range up to 25,600 and can do exposures up to 30 seconds.
Pros:
- Affordable entry price
- Good image quality for an APS-C sensor
- Fully manual controls for astrophotography settings
Cons:
- Smaller APS-C sensor than full-frame cameras
- 30-second maximum exposure time (without accessories)
ZWO ASI294MC Pro Cooled ($899)
This is a dedicated astrophotography CCD camera great for deep sky objects like galaxies and nebulae.
It has a mono sensor and integrated filters.
Pros:
- Large 11.9MP sensor optimized for astrophotography
- Regulated cooling down to -40°C for low noise
- Can do unlimited exposure lengths
Cons:
- Requires telescope and tracking mount
- Steeper learning curve than DSLR
Sony a7 III ($1,798 body only)
A fantastic full-frame mirrorless option with great low-lightperformance.
The 24MP BSI sensor and advanced electronics excel at astrophotography.
Pros:
- Superb high ISO image quality up to 51,200
- Silent shutter and live view focusing
- Compact and lightweight for a full-frame
Cons:
- More expensive than DSLRs
- 30-minute maximum exposure time
Astrophotography Camera Settings
No matter which camera you choose, there are some common astrophotography settings to use:
- Shoot in RAW file format for maximum editing flexibility
- Use an aperture of f/2.8 - f/4 for maximum light gathering
- Set shutter speed to 20-30 seconds or ‘Bulb’ mode
- Start with ISO around 1600-3200 but adjust as needed
- Manual focus mode using live view and zooming in on a bright star
You’ll also need a sturdy tripod or tracking mount to allow those long exposures.
Wireless shutter releases are also very helpful.
The right lensesare important too.
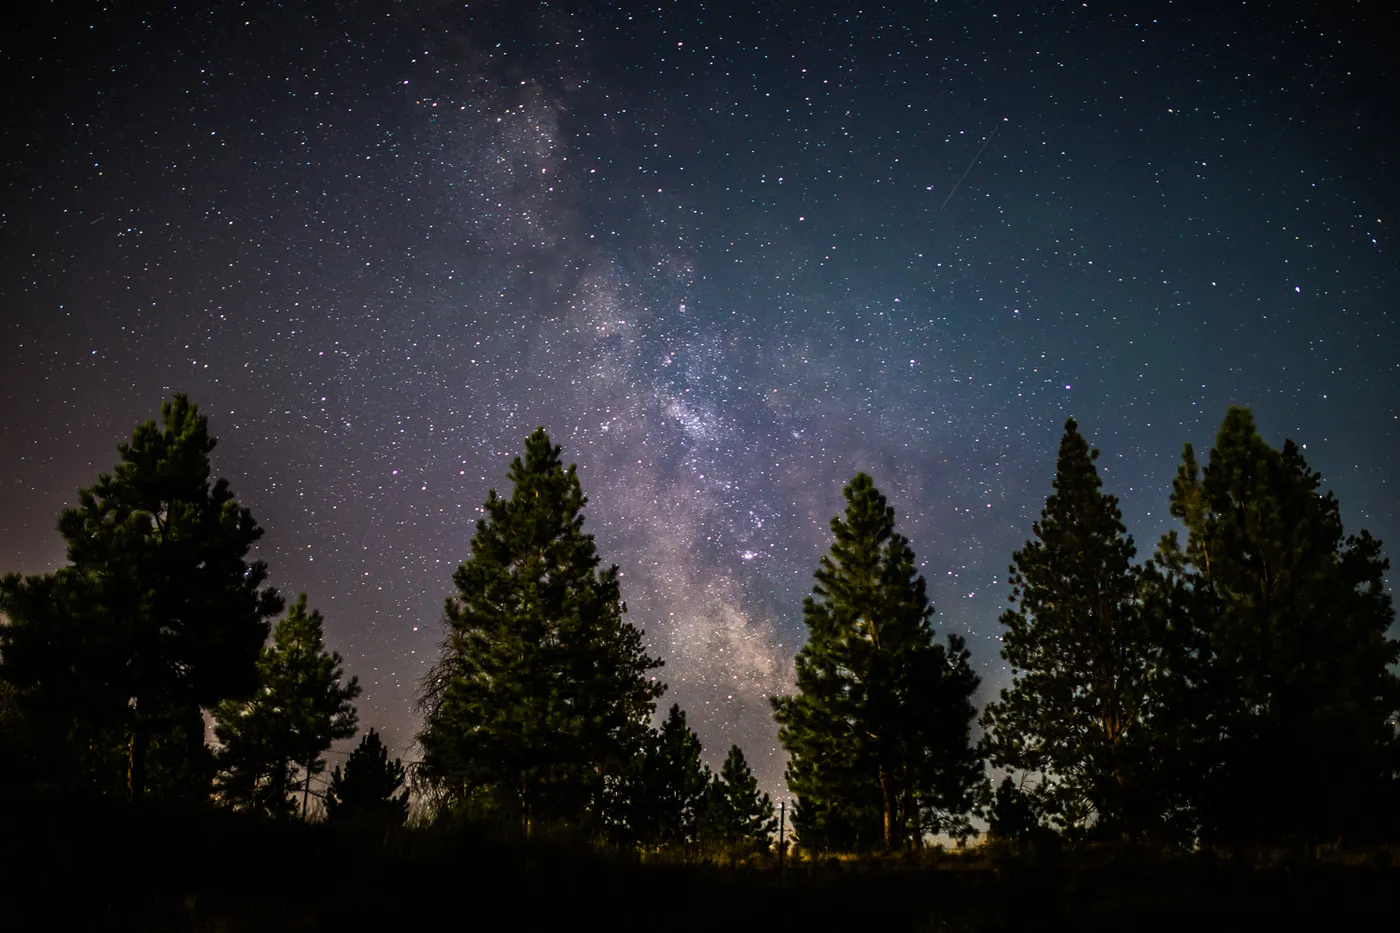
Fast f/2.8 ultra-wide angle lenses in the 14-24mm range are best for capturing the Milky Way and nightscapes.
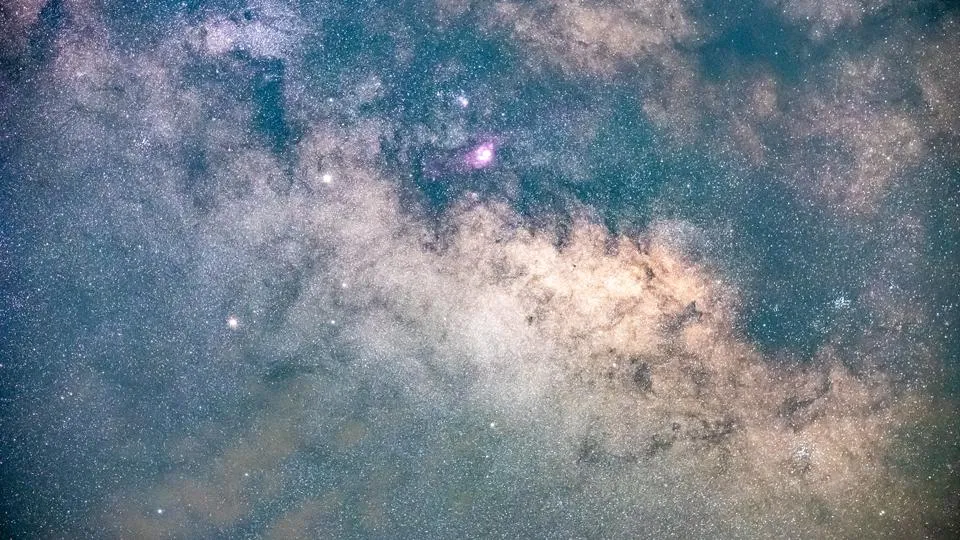
Telephoto lenses can be used to zoom in on specific deep sky objects when combined with a tracking equatorial mount.
Post-Processing for Better Astrophotos
Don’t just shoot a single exposure and call it a day!
Astrophotography often requires blending multiple exposures together using “stacking” software like Photoshopor Lightroom to pull out maximum detail and color.
Image Stacking Techniques:
- Take as many light frames (exposures) as possible of your target celestial object or scene
- Use software like DeepSkyStacker (free) or PixInsight(paid) to calibrate, align, and integrate all your light frames into one stacked image
- Stacking increases signal-to-noise ratio, reducing noise and revealing faint details
Noise Reduction:
- Long exposures can introduce noise/grain, especially at higher ISOs
- In post-processing apps like Lightroom, use noise reduction sliders and masking to smooth out noise, especially in shadow areas
- Be careful not to over-smooth and lose star details and sharpness
Other Processing Tips:
- Adjust white balance to taste, try auto or daylight settings
- Use levels/curves to boost contrast and bring out faint details
- Add saturation to enhance colors, but don’t overdo it
- Use sharpening and noise reduction on separate layers for best control

The Right Astrophotography Lenses
Fast, Wide Aperture Lenses:
- Ideal is f/2.8 or wider aperture to collect as much light as possible
- Sample wide-aperture lens picks: Rokinon/Samyang 14mm f/2.8, Sigma 14-24mm f/2.8
Ultra-Wide Focal Lengths:
- Go as wide as possible in the 14-24mm range to capture maximum sky/landscape
- Canon EF 16-35mm f/2.8L III, Nikon 14-24mm f/2.8G are great DSLR options
For Deep Sky:
- Telephoto lenses like 70-200mm f/2.8 can be used with tracking mounts to zoom in on galaxies, nebulae
The key is choosing lenses with wide apertures to maximize light gathering, and ultra-wide focal lengths to capture as much sky as possible in a single frame.
Fast primes or pro-grade f/2.8 zooms are ideal astrophotography lenses.
And That’s It
With patience and practice, your astrophotography skills will improve with each session under the stars.
Apps and calculators like PhotoPillsand Telescopiuscan help plan when and where to photograph different celestial objects and events.
Start with an affordable astrophotography camera and lens to learn the basics.
I hope that helps,
Hakan.